Below is our step by step guide on how to sublimate onto a mug. Please note that this process is almost identical for latte, espresso or other non-standard shaped sublimation mugs.
- Print out your design on to sublimation paper using sublimations inks. Remember to print the image as a ‘Mirror Image’.
- Ensure the paper ink is fully dry before sticking the paper to the mug surface.
- Stick the paper to the mug using heat resistant tape so that the printed design is touching the mug. Ensure the heat tape you use is long enough so that there is no risk of the paper coming off accidentally.
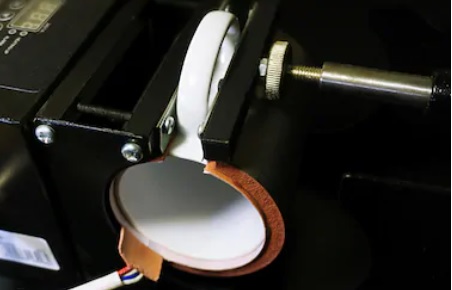
- With a blank mug inside, adjust your heatpress machine’s pressure first. Take out the blank mug. Switch on your machine and set your heatpress with the correct time and temperature.
- Some people prefer to preheat their mugs (optional) to ensure that they can do full height printing without any bleeding/ghosting situation.
- Referring to point 4, at this point, when closing the mugpress, you ensure that the handle is not too close and that you don’t apply too much pressure as this can snap the handle. You should be able to comfortably close the press with the mug fit in comfortably.
- Once the heat press has finished its countdown, wear a glove and remove the mug from the press and immediately remove the sublimation paper.
NOTE: Please be careful when doing this as the mug will be extremely hot. One technique is to dunk the mug in a pail of room temperature water. This will both stop the sublimation process but also cool the mug down faster so that you don’t need to leave it to cool for a large amount of time.
8. Cool the mug and wipe off any residue from the heat tape.