Here is a quick and easy guide on how to print on our aluminium water bottles! Each bottle comes individually packed in its own box and with a screw-type lid cap.
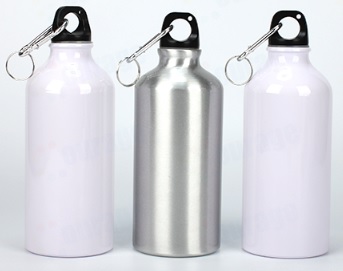
Our silver sublimation water bottles are great for black, dark or bold designs and text whereas the white aluminium water bottles are great for photos, colourful designs as well as text.
To create your own printed water bottle follow the simple steps below:
- Print out your design on a piece of sublimation paper using sublimations ink. Remember to print the image out using ‘Mirror Image’ setting.
- Ensure paper ink is fully dried. Stick the paper to the water bottle securely using heat resistant tape so that the printed design is touching the water bottle.
- All of our sublimation water bottles fit comfortably inside a standard mugpress. However, depending on your machine you may need to adjust the pressure so that it prints correctly.
Note: One way of testing if the pressure is correct is to put a water bottle inside the press (while the machine is still switch off), close the press and then gently tug to see if the bottle moves. If it does not move at all then, then that means the pressure is suitable for printing.
4. Set the pressing temperature of your press to 180 degrees Celsius (356 degrees Fahrenheit) and time to 45-60 seconds. Once the mugpress is ready, unscrew the bottle cap to place it aside, place water bottle inside the press and close it.
5. Once the mugpress machine has finished its countdown, wear a pair of gloves and remove the water bottle from the press, and remove the sublimation paper around the bottle as soon as possible/immediately.
6. Cool the bottle in a pail of water, and wipe off any residue from the heat tape.